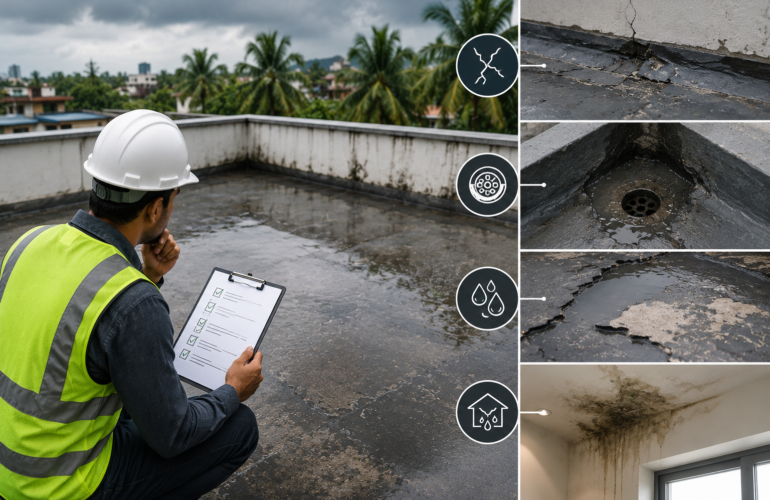
A leaking bathroom is the most expensive small repair in a building.
Not because waterproofing a bathroom is difficult — it isn’t, and it’s a small area. It’s expensive because by the time you notice, the tiles are down, the fittings are installed, the ceiling below is stained, and fixing it means demolishing a finished room.
The window to get this right lasts about three days, somewhere in the middle of construction, and it closes the moment tiling starts.
Here’s what to verify while the window is still open.
The short version
Bathroom waterproofing must be applied to the bare structural slab and walls before any tiling, must extend up the walls to at least shower height, must be sealed around every pipe penetration and at the floor-to-wall junction, and must be flood-tested for 24 to 48 hours before tiles go down. Skipping the flood test is the single most common — and most consequential — omission.
Why bathroom leaks are so hard to trace
Water leaving a bathroom rarely appears below the bathroom.
It enters at a failed junction, travels along the top of the structural slab under the screed, and drops through wherever the slab has a crack, a construction joint, or a service penetration. That can easily be in the next room, or the room after that. Clients frequently spend money repairing a ceiling in one part of the house when the source is a shower junction elsewhere entirely.
This is also why “just reseal the tile grout” almost never works. Grout was never the waterproofing layer. Tiles and grout are a wearing surface — the actual barrier sits underneath them, and if it’s absent or damaged, no amount of surface sealing compensates.
The 11-point checklist
1. Is the structural surface clean and sound?
Waterproofing bonds to the substrate. Loose material, laitance, dust, oil from formwork, or leftover debris all prevent adhesion. The slab and walls should be swept, cleaned, and free of honeycombing.
If there’s visible honeycombing in the slab, that needs repairing with polymer mortar before anything else happens. Water finds voids.
2. Are all plumbing lines installed, tested and pressure-checked?
Waterproofing goes on after plumbing is complete and tested, never before. Chasing a pipe through a finished waterproof layer defeats the entire exercise.
Pressure-test supply lines and check drainage falls before the waterproofer arrives. Fixing a plumbing defect after tiling costs many times what it costs now.
3. Does the floor slope to the drain?
Every part of the bathroom floor should fall toward the floor trap. Not just the shower area — the whole floor.
Check this with a level and a bucket of water before waterproofing. If water pools anywhere, that’s where the waterproofing will be under permanent load and where the tiles will hold standing water afterwards. Slope is corrected in the screed, and it’s far easier to fix now.
4. Is the floor-to-wall junction coved?
This matters more than most people realise. A sharp ninety-degree internal corner is where waterproof membranes crack, because the material can’t accommodate movement at a hard angle.
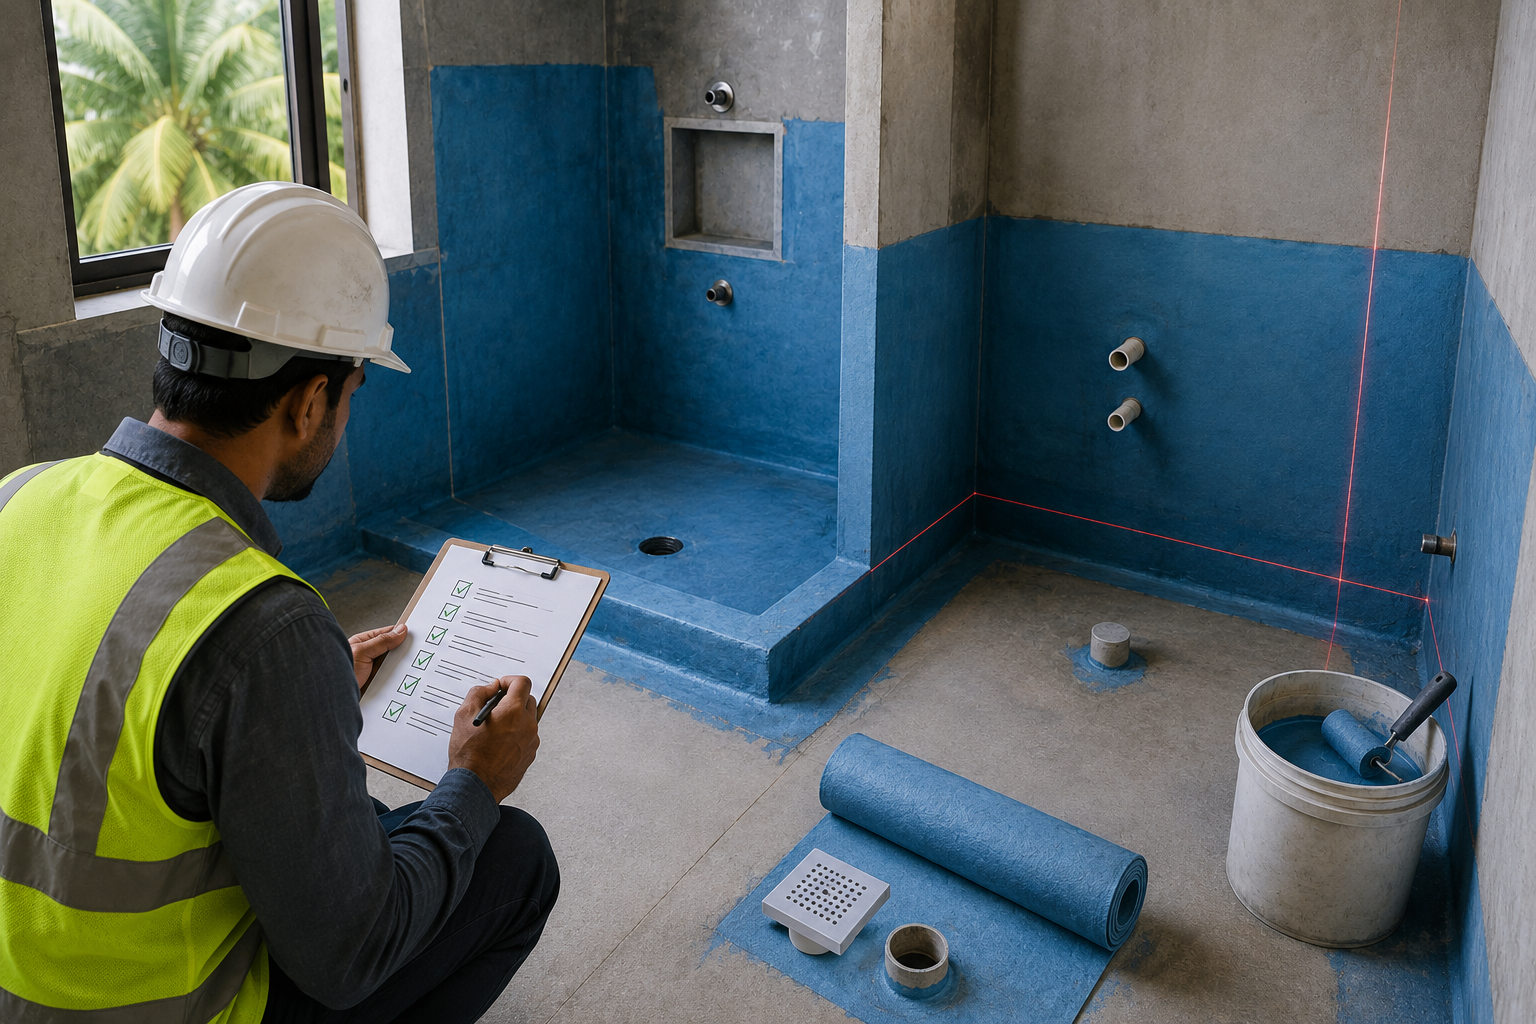
The junction should have a fillet or cove — a small curved or angled transition in polymer mortar — running around the entire perimeter. Every internal corner where two walls meet needs the same treatment.
5. Is every pipe penetration sealed properly?
Each pipe passing through floor or wall is a hole in your barrier. Waste pipes, floor traps, supply lines, and any conduit.
Correct treatment means the gap around the pipe is filled with a non-shrink material, and the waterproof membrane is carried up onto the pipe collar, usually with reinforcing tape or fabric.
Count the penetrations yourself and check each one. This is where leaks originate more than anywhere else.
6. Does the membrane extend high enough on the walls?
There’s a common shortcut where waterproofing stops a few inches up the wall on the assumption that water stays low. It doesn’t — showers spray, and water runs down walls.
Sensible practice: at least 1.8 metres up the wall in shower areas, at least 300 mm elsewhere around the perimeter, and full height on any wall shared with a bedroom or living space. If there’s a bathtub, extend behind and above it.
Walls that back onto a wardrobe, a bedroom wall, or an adjacent flat deserve the full treatment regardless of cost.
7. Are the coats applied correctly?
The specified number of coats, in the specified thickness, with proper curing time between them, and with the second coat applied perpendicular to the first for even coverage.
Ask what product is being used and look at the datasheet. If a product specifies two coats at a stated coverage and the crew is stretching one bucket across double the area, the system is compromised in a way that is invisible until it fails.
8. Is reinforcing fabric used at corners and junctions?
Corners, junctions, and any crack-prone area should have reinforcing mesh or fabric embedded between coats. This bridges movement that a plain coating cannot.
9. Has it cured before testing?
Follow the product’s curing time. Rushing to the next stage is how a system that would have worked ends up failing.
10. Has a flood test been done?
This is the step that gets skipped, and it’s the one that matters most.
Plug the floor trap, fill the bathroom floor with water to a depth of about 25 mm, mark the level, and leave it for 24 to 48 hours. Then check two things: whether the water level dropped, and whether there’s any dampness on the ceiling or walls below.
If it holds, you have a working waterproof layer and you can tile with confidence. If it doesn’t, you’ve found the problem at the cheapest possible moment.
A contractor who resists doing a flood test is telling you something. It costs a bucket of water and two days of patience.
11. Is the membrane protected before tiling?
Between the flood test and tiling, the membrane is exposed and vulnerable. Dropped tools, dragged materials, and foot traffic in hard footwear all puncture it.
A protective screed or immediate tiling after testing is the right sequence. Don’t let the bathroom become a storage area for a fortnight after waterproofing.
The five mistakes we see most often
- Waterproofing applied over the screed instead of the structural slab. Water then saturates the screed permanently and travels sideways under it.
- Waterproofing stopped at the door threshold with no upstand, so water simply walks out under the door frame.
- The shower niche left untreated. A recessed niche is a box that collects water, and it’s often forgotten entirely.
- Nobody sealed around the floor trap body, only around the outer pipe.
- Tiling started the same day as the second coat. No curing, no test, no chance.
If your bathroom is already leaking
You have three broad options, and which applies depends on where the water is entering.
Localised repair works if the source is a specific identifiable point — a failed seal at one pipe, a cracked floor trap joint — and the rest of the system is intact. Minimal demolition.
Injection grouting can seal cracks in the slab from below in some situations, avoiding tile removal. It’s not a universal solution and it doesn’t restore a missing membrane, but where the defect is a structural crack it can work.
Full redo — removing tiles, redoing the waterproofing properly, retiling — is the reliable answer when there was never an adequate membrane in the first place, which is common in older buildings.
The right choice depends entirely on diagnosis. Anyone who tells you which one you need without inspecting the bathroom is guessing.
Frequently asked questions
Should bathroom waterproofing be done before or after tiling? Before, always. The waterproof membrane goes onto the bare structural slab and walls, is tested, and only then are tiles laid over it. Tiles and grout are a wearing surface, not a waterproof barrier.
How high should bathroom waterproofing go on the walls? At least 1.8 metres in shower areas and at least 300 mm around the rest of the perimeter. Walls shared with bedrooms or living spaces, and walls behind bathtubs, should be treated to full height.
How long should a bathroom flood test run? 24 to 48 hours with about 25 mm of standing water and the outlet plugged. Check both the water level and the ceiling below for any sign of dampness before proceeding to tiling.
Can bathroom waterproofing be done without removing the tiles? Sometimes. Surface-applied systems and injection grouting can address specific defects without full demolition. But if there was never a proper membrane underneath, surface treatments are a delaying measure rather than a fix.
Why does my ground floor ceiling leak when the bathroom is upstairs and dry? Water enters at a junction, travels along the top of the structural slab beneath the screed, and drops through a crack or penetration somewhere else. The stain shows where water exits, not where it entered — which is why diagnosis matters more than patching the visible spot.
How long does bathroom waterproofing last? A properly applied and protected system should last the life of the bathroom finish. Bathrooms that leak within a few years almost always had an application defect — an untreated junction, missing coves, or an unsealed penetration — rather than a worn-out membrane.
Does a bathroom need waterproofing if it’s on the ground floor? Yes. Ground floor bathrooms leak into wall bases and adjacent rooms, causing rising damp, damaged plaster and skirting, and long-term deterioration. The consequences are less dramatic than a ceiling stain but not less real.
Steelbridge Infra handles wet-area waterproofing across Ernakulam, Kochi, Thrissur and Kerala — for new construction and for tracing and repairing existing bathroom leaks.